Want a beautiful and functional chest harness?
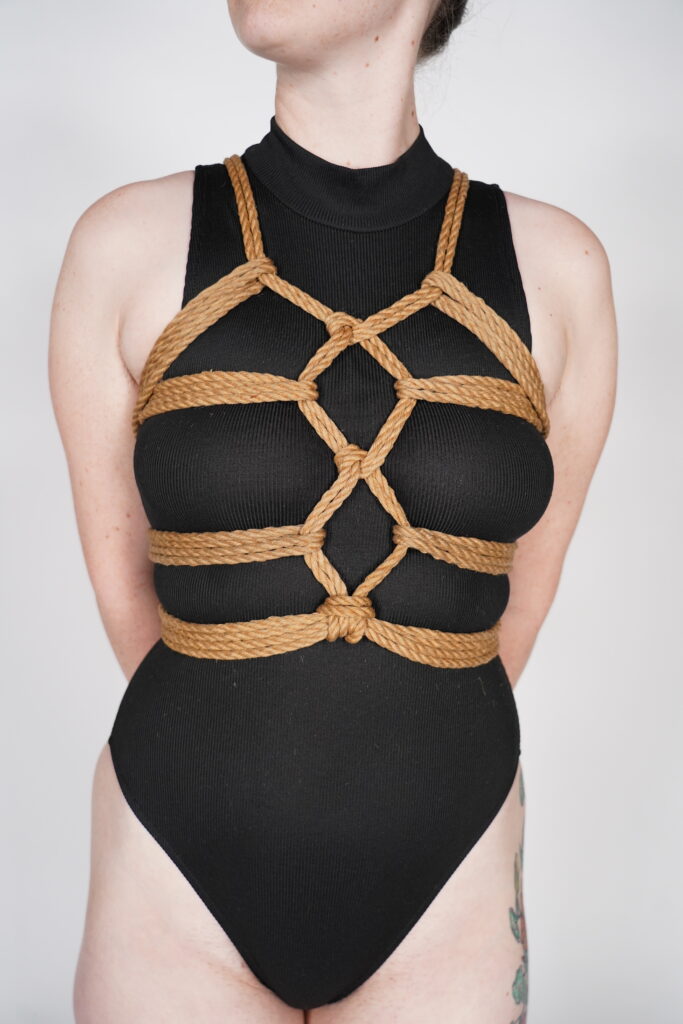
Look no further!
Step 1: Tie a reverse-tension single column around the waist, placing the knot in the back.
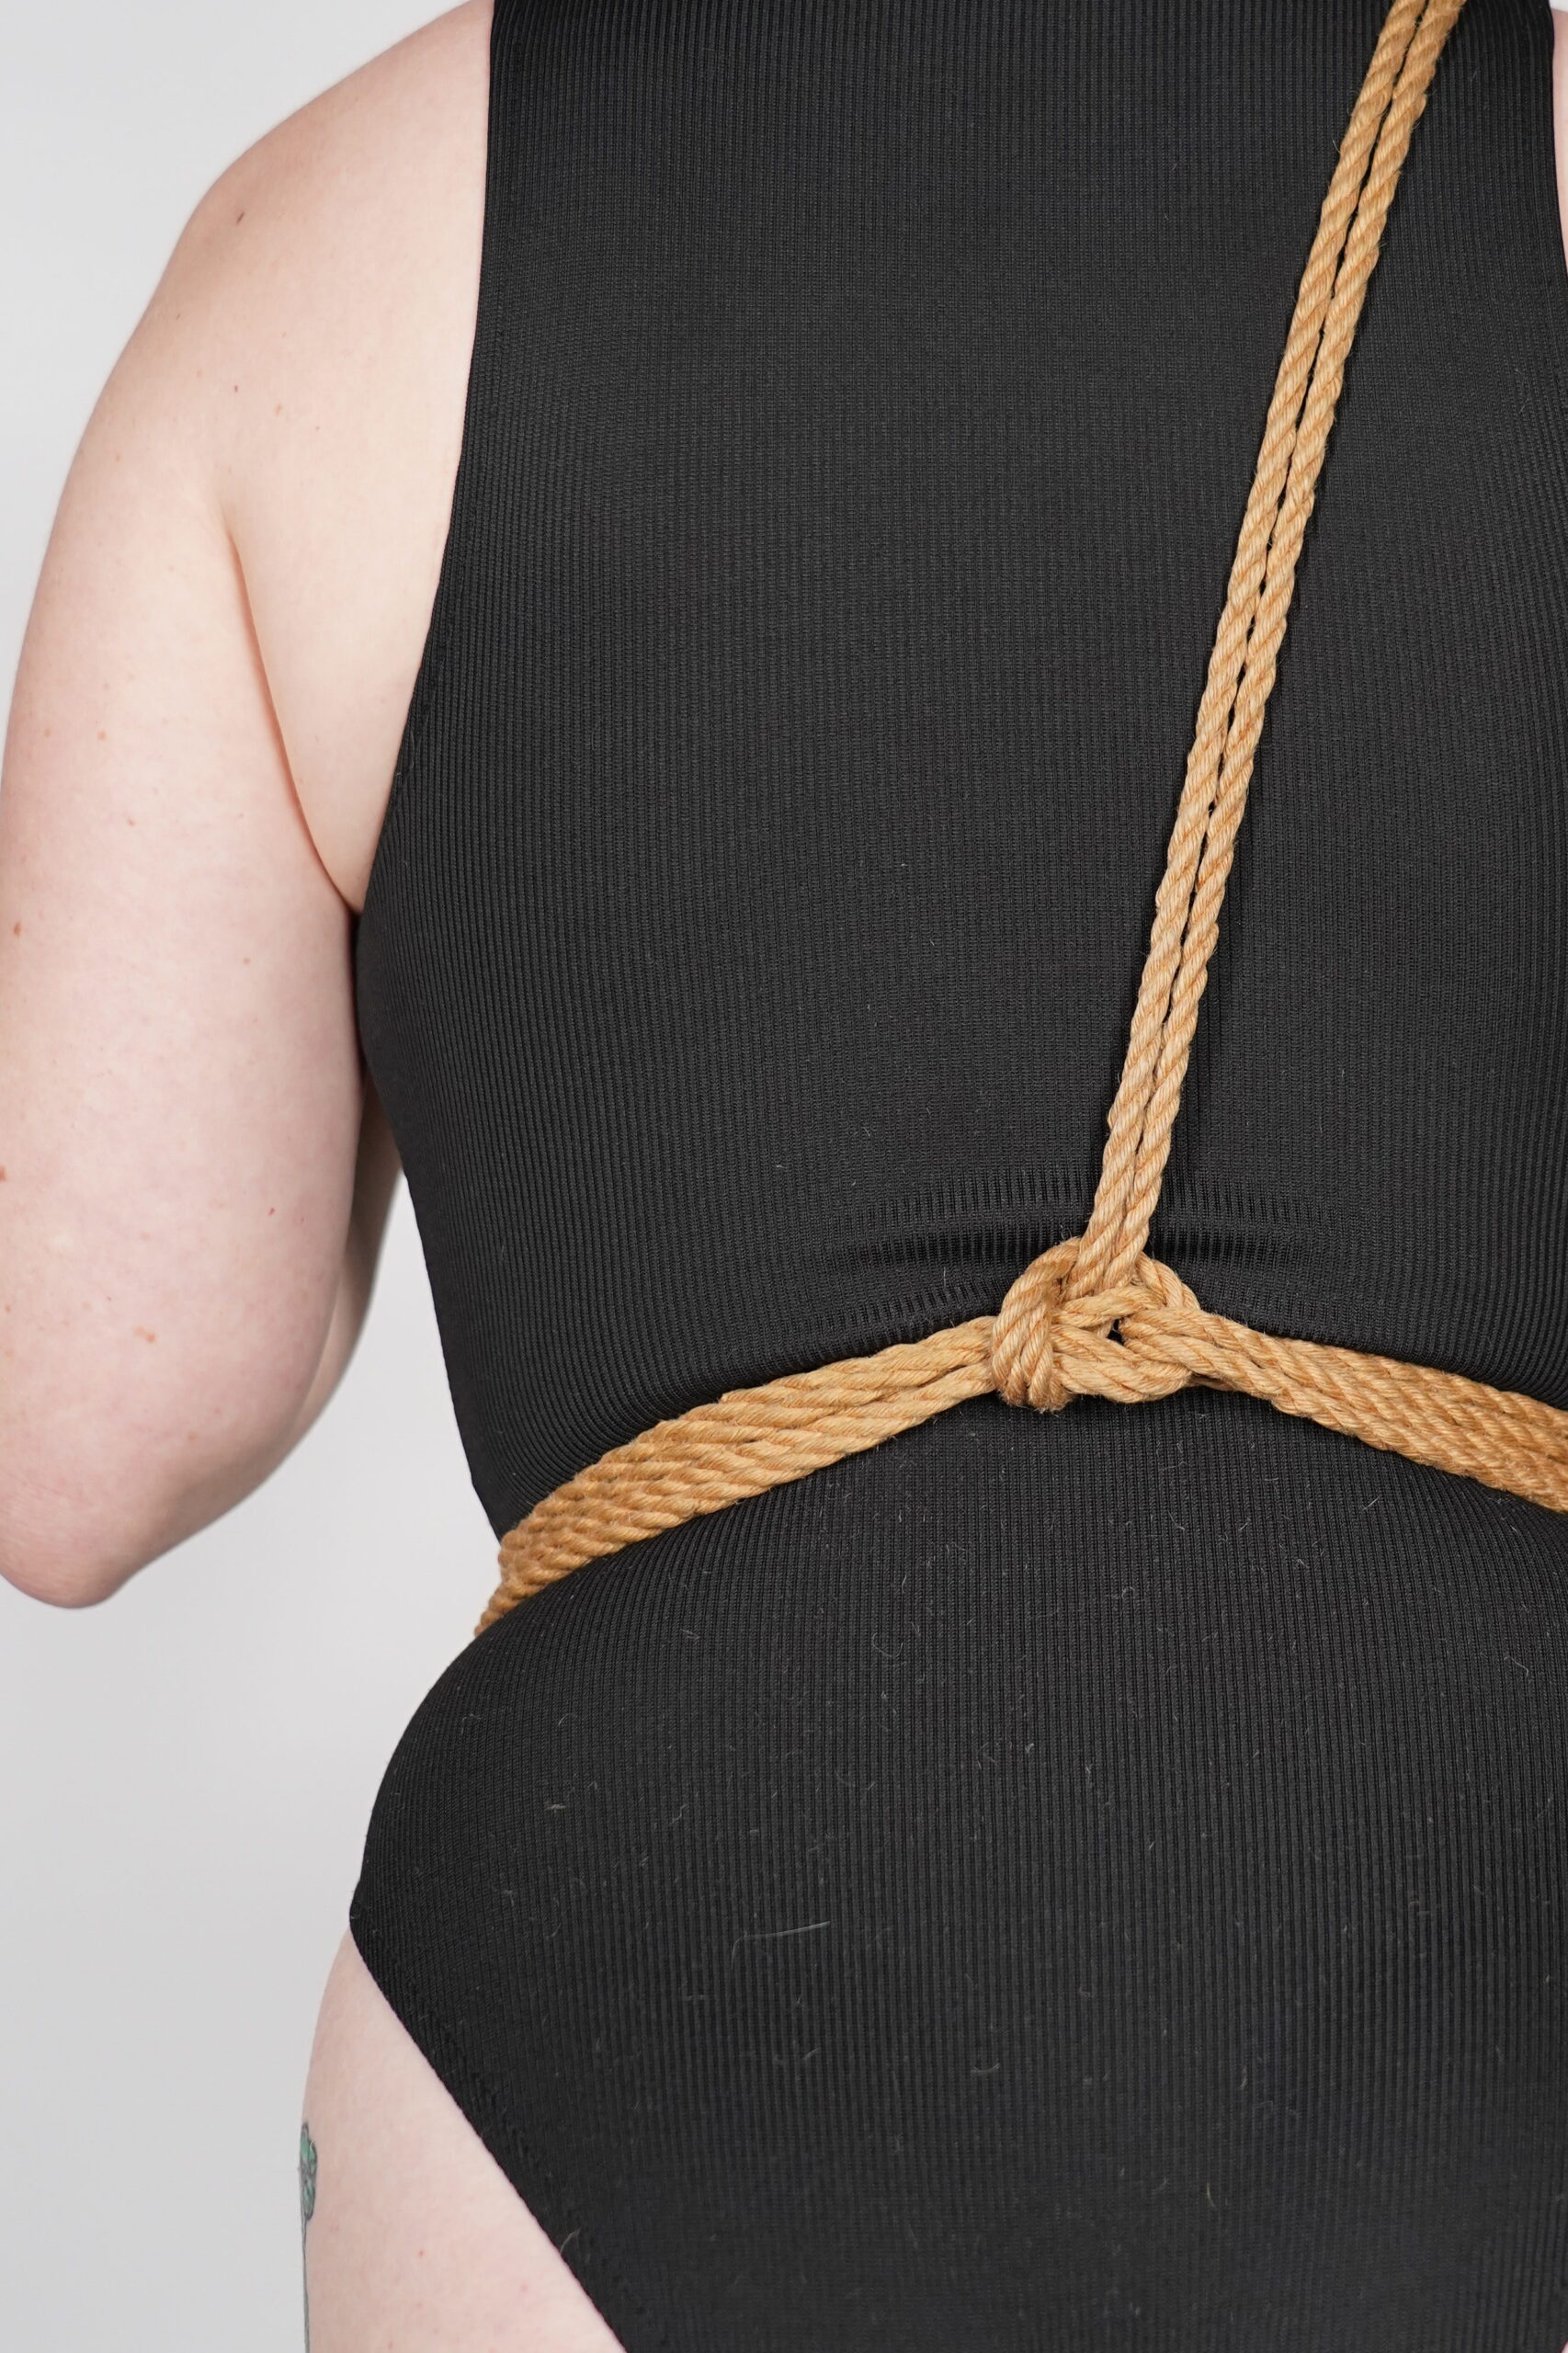
Step 2: Run the rope over one side of the shoulder coming down the waist line and do a cow hitch to reverse the direction.
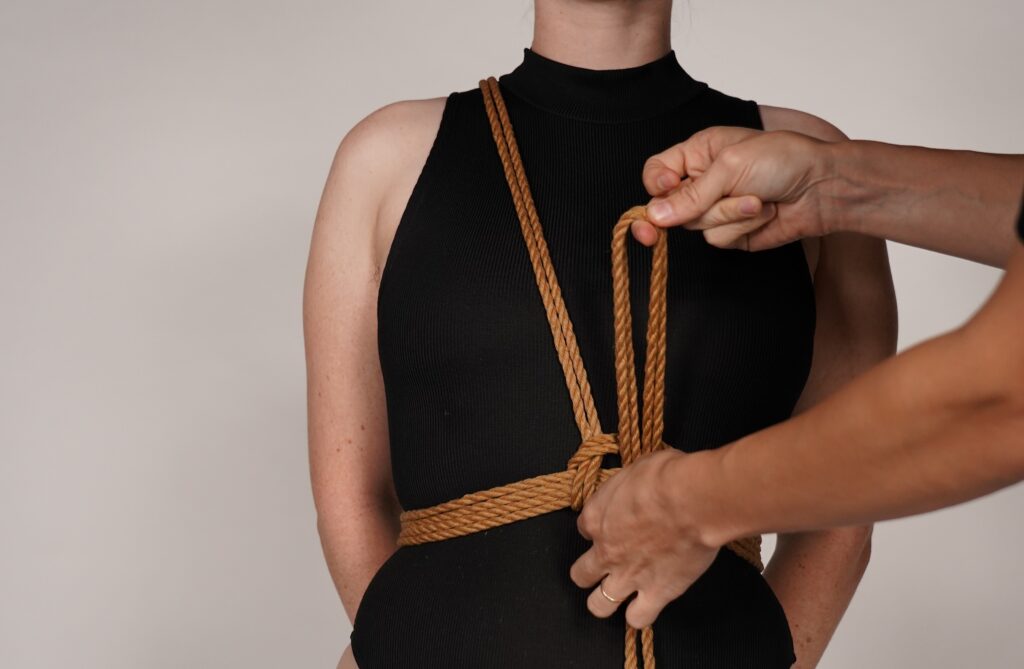
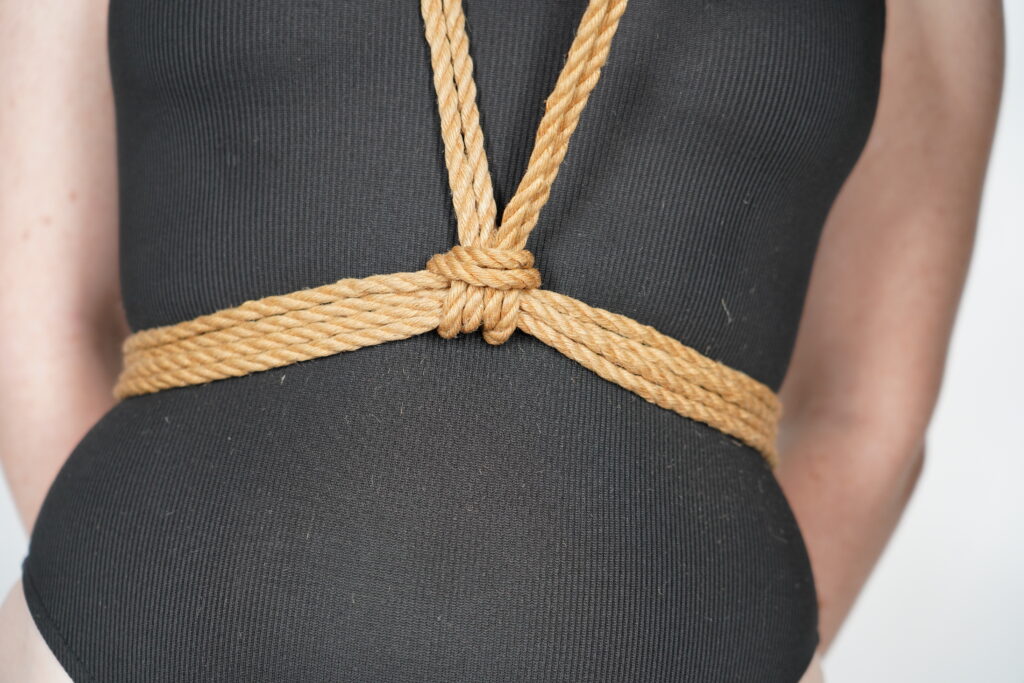
Step 3: Place the first half hitch roughly at nipple height
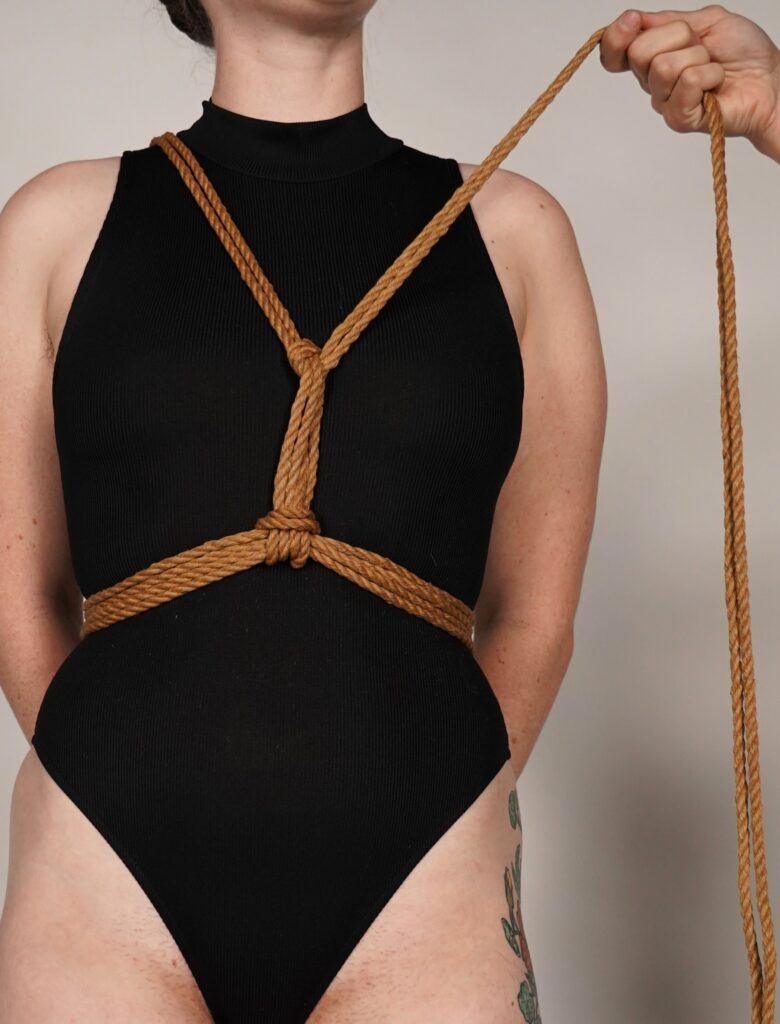
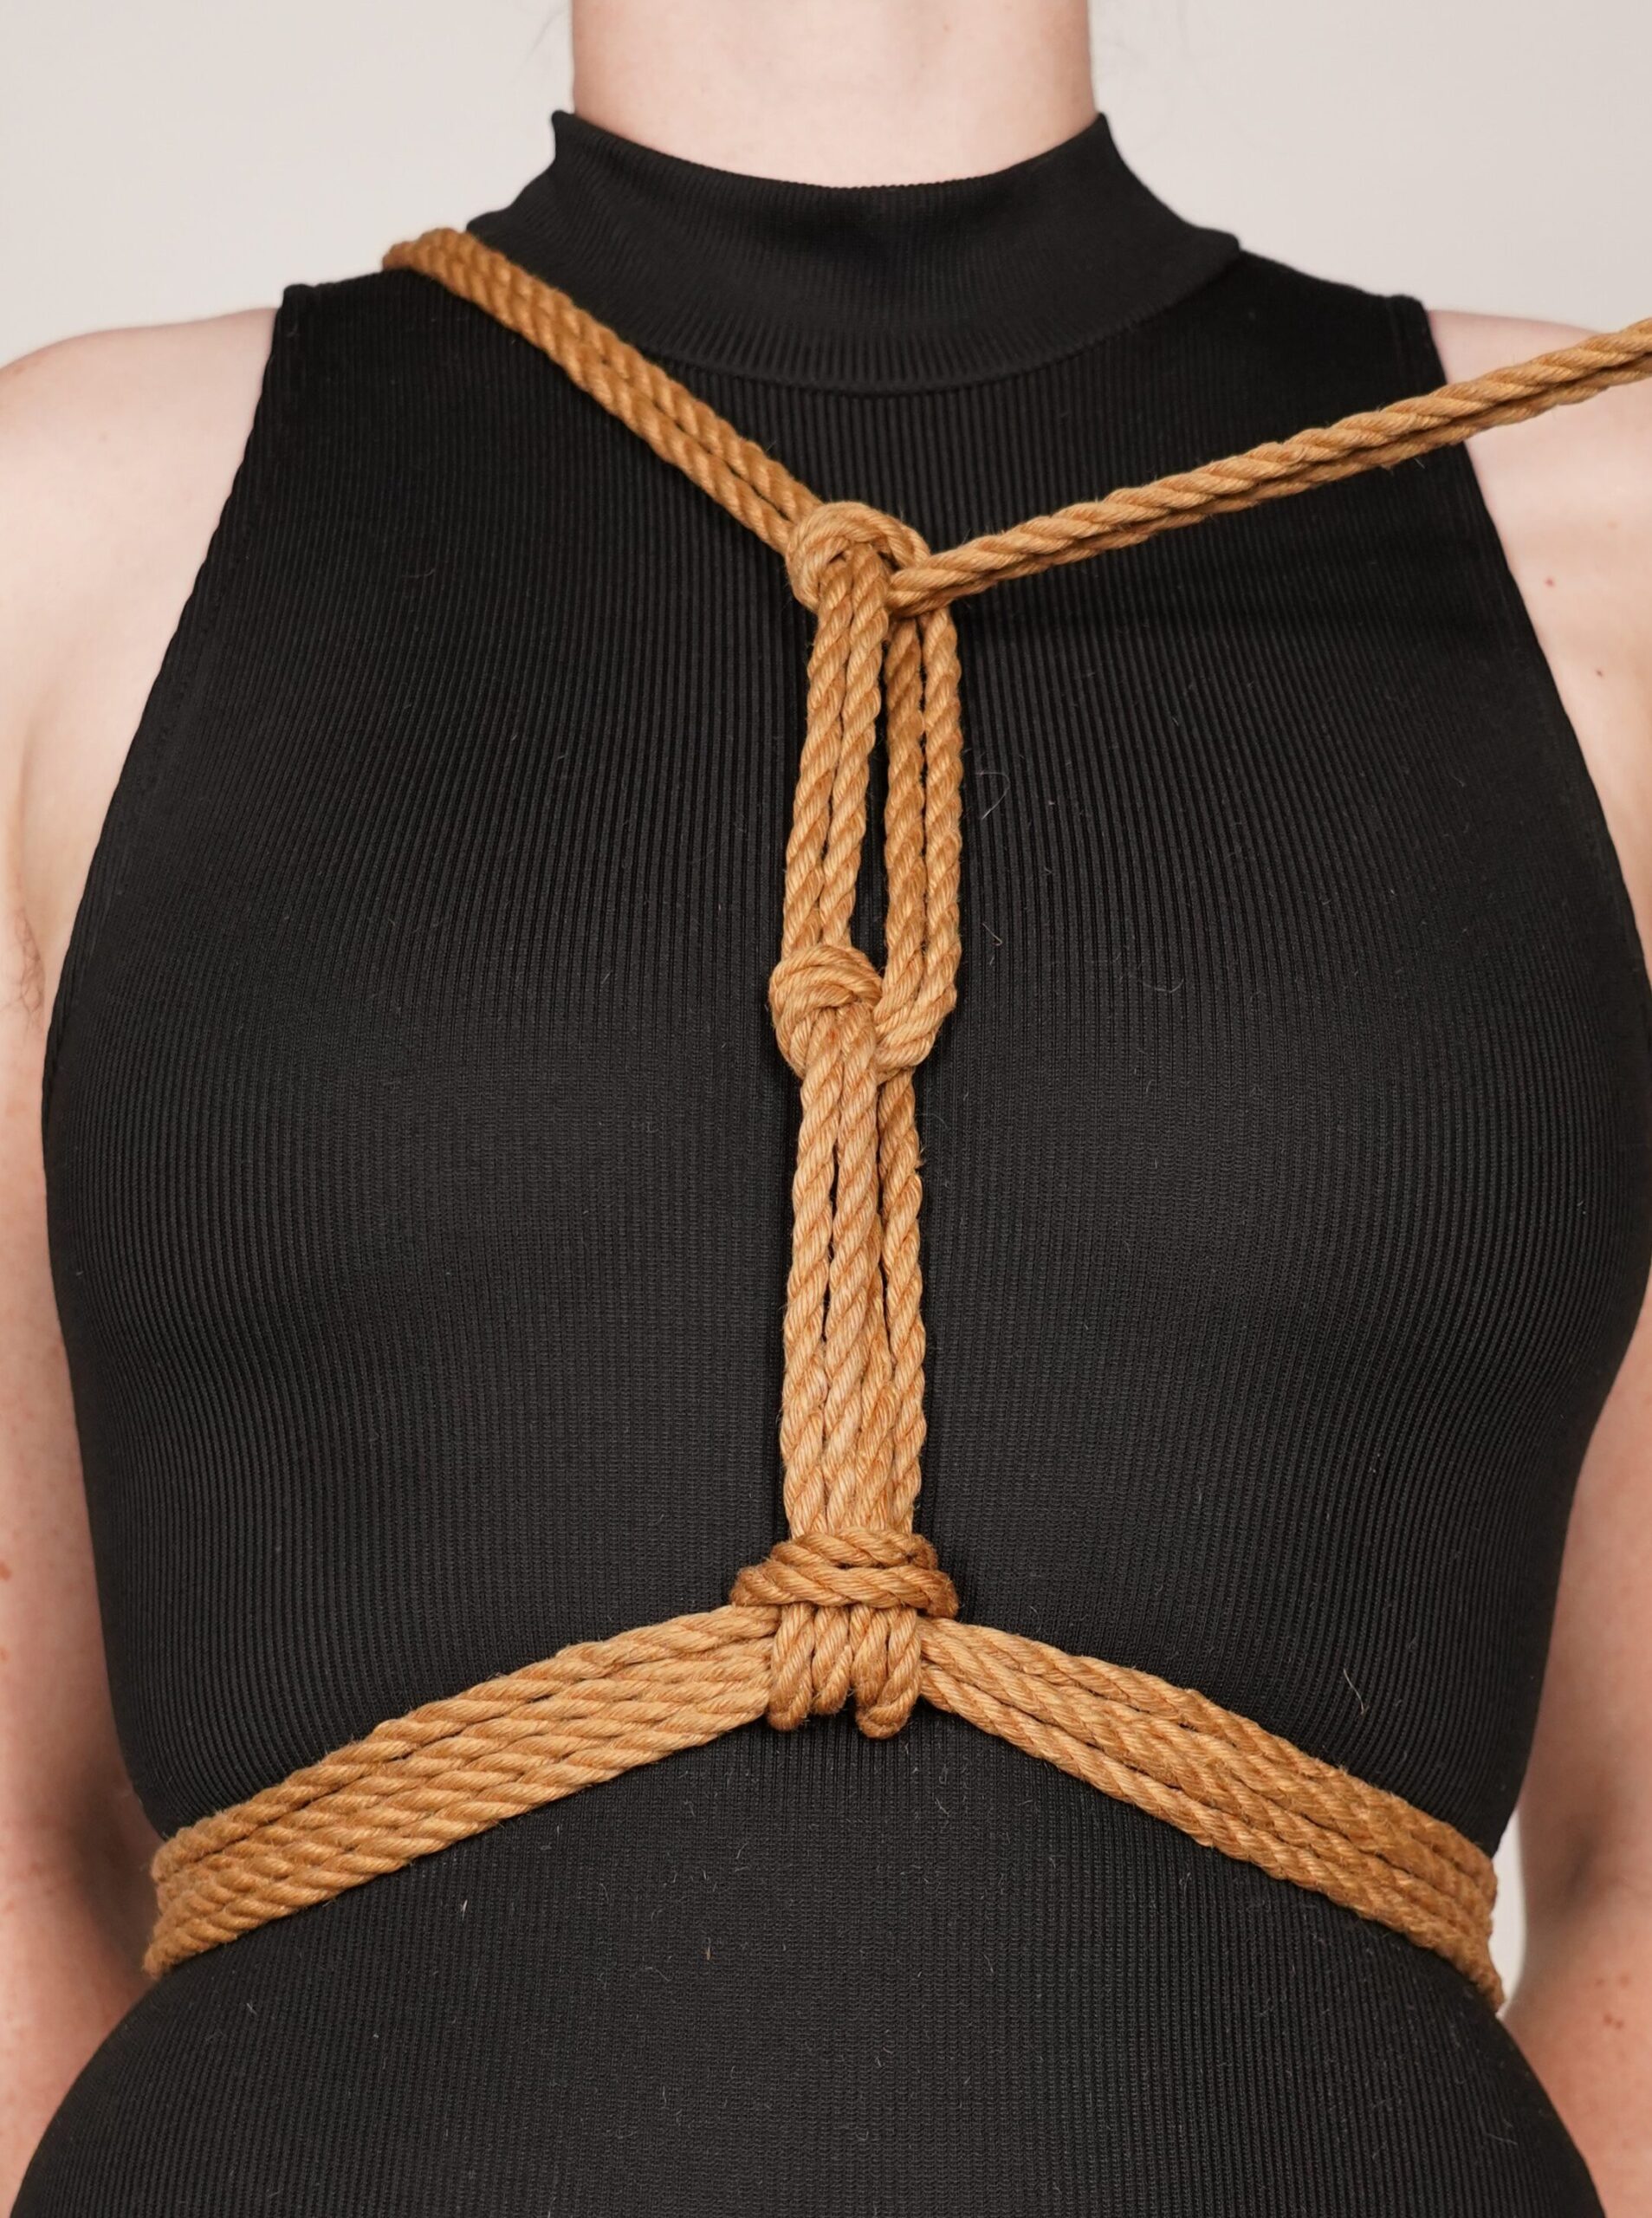
Step 4: Tie the second half hitch below the collarbone.
Step 5: Run the line back over shoulder.
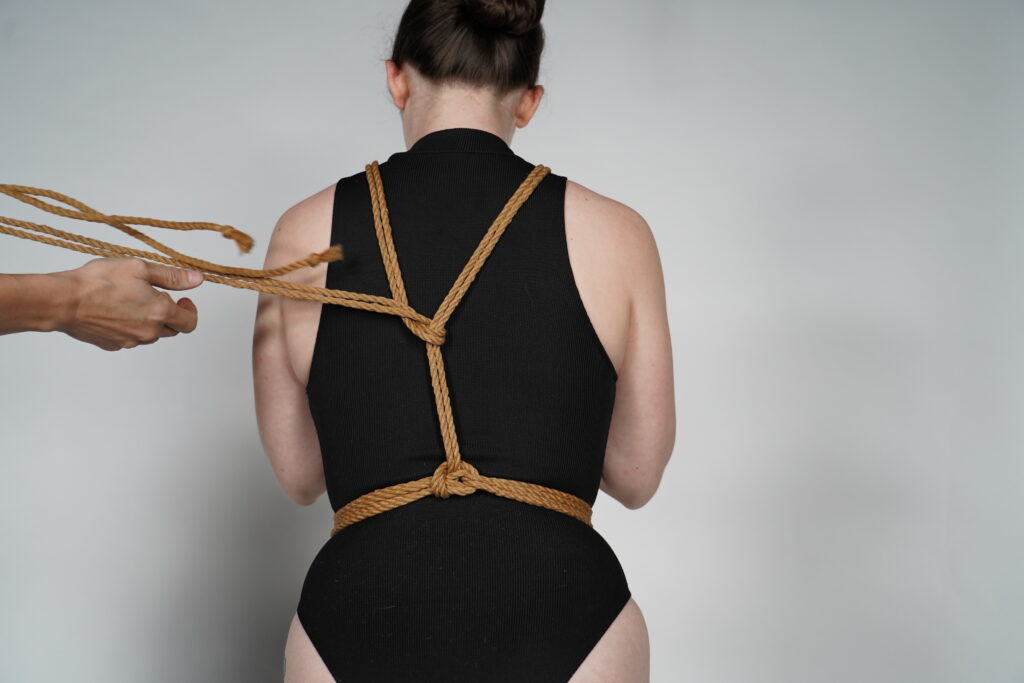
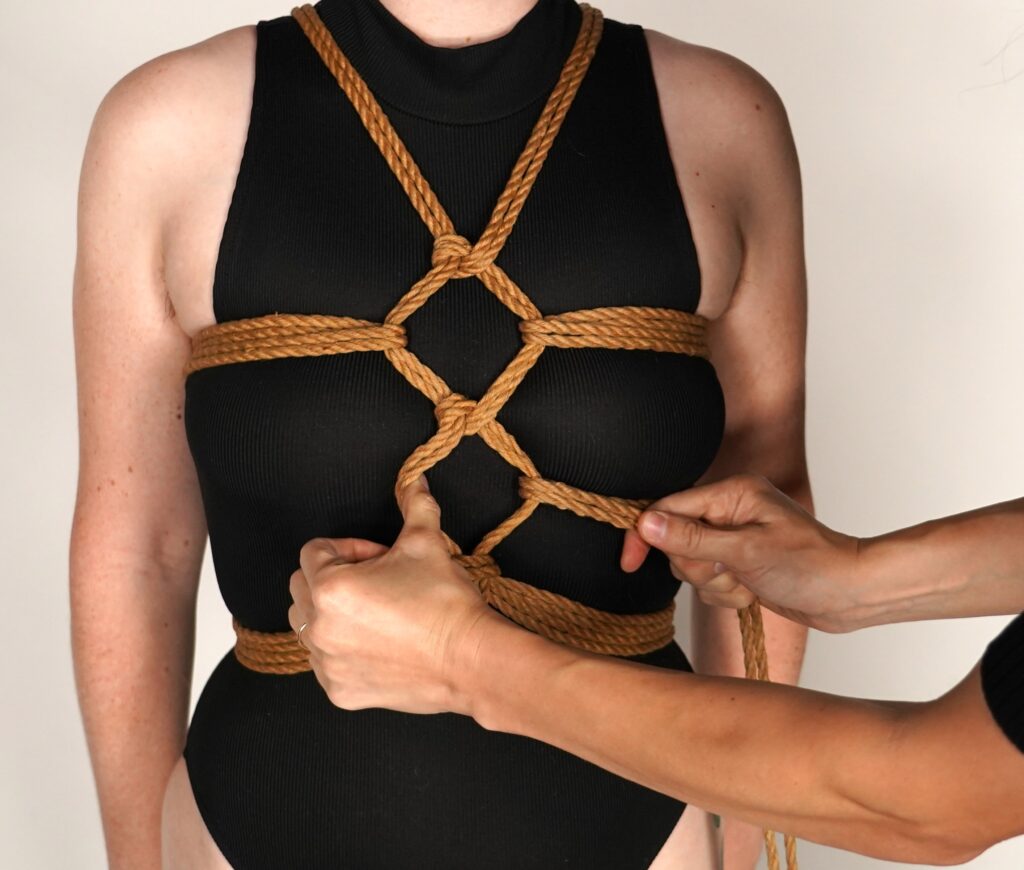
Step 6: Place a hitch along the stem a few inches below the armpit and bring line under the arm to the other side of the body
Step 7: Draw the line through the opening in the front stem below
the top half hitch and gently pull while bracing the other side,
spreading the stem to create a diamond
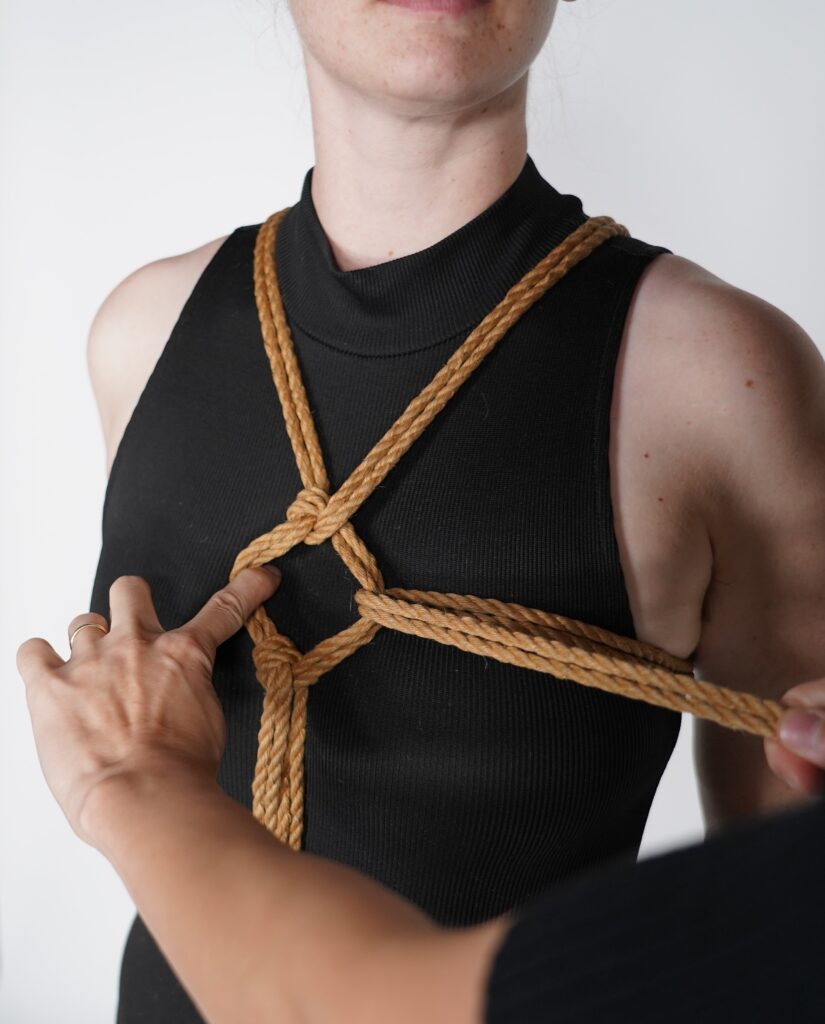
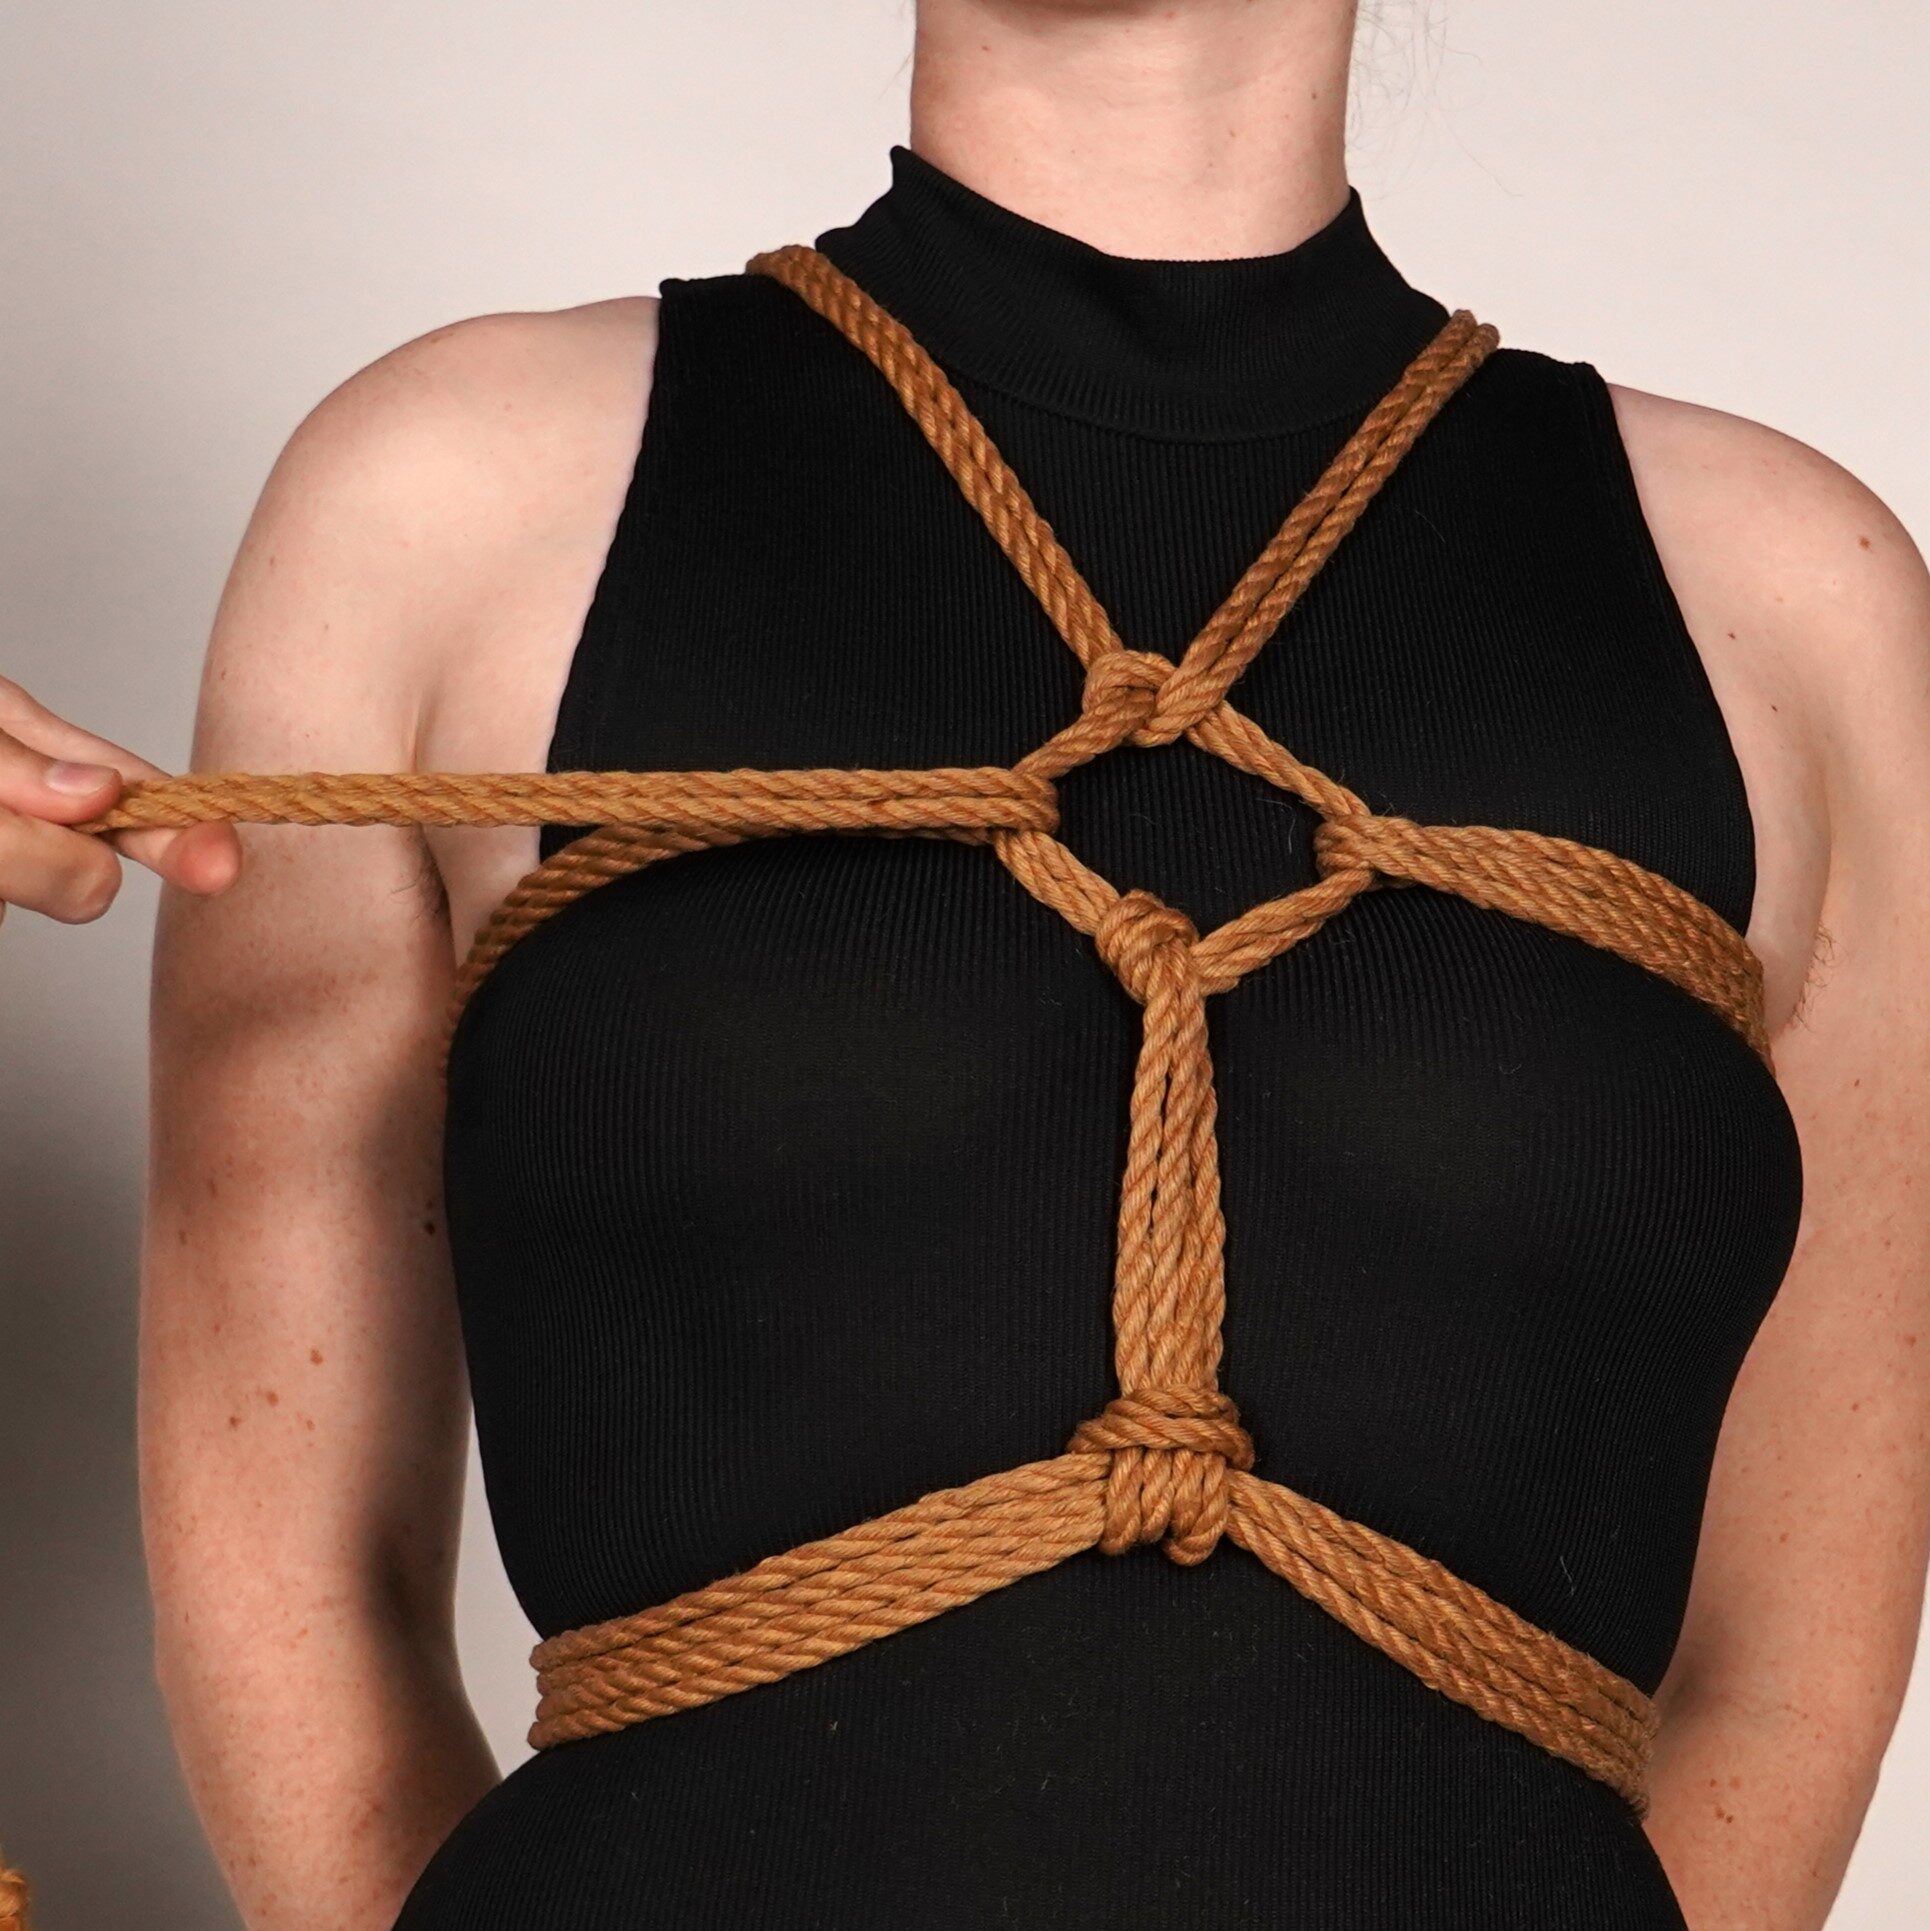
Step 8: Run rope to the back and under the stem and repeat the previous step on the other side to create a diamond shape.
Step 9: Now, bring the line to the back stem and do a full moon friction to lock the upper bands.
Step 10: Do a 360* turn around the stem so the line is coming out from
under the stem.
Step 11: Draw the line to the front and through the opening in the front stem
Now we are going to do a full moon to lock the upper bands
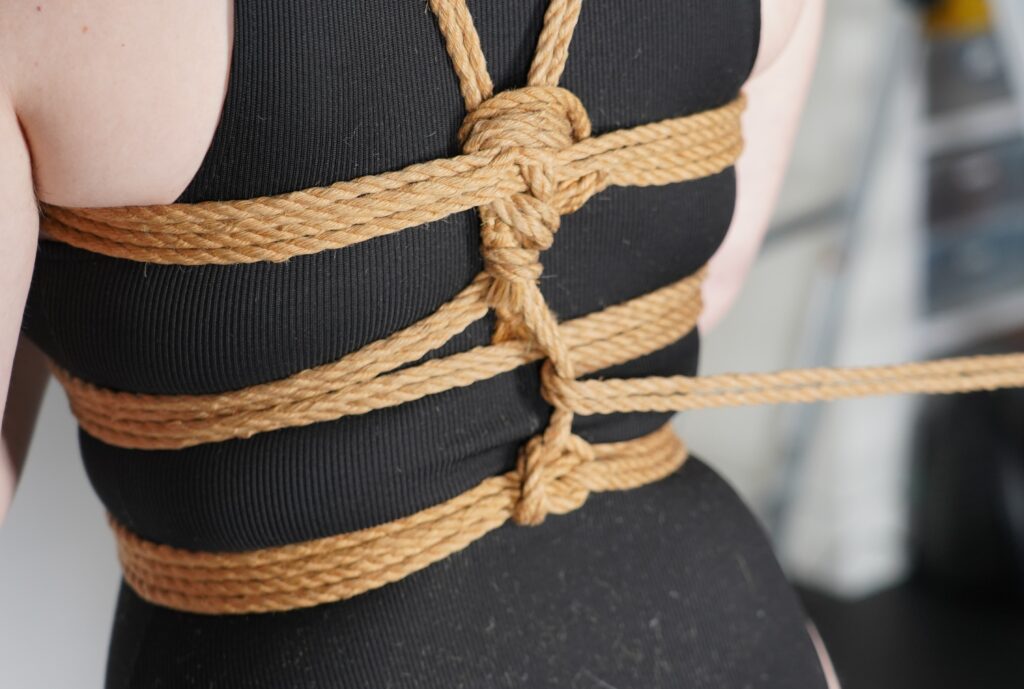

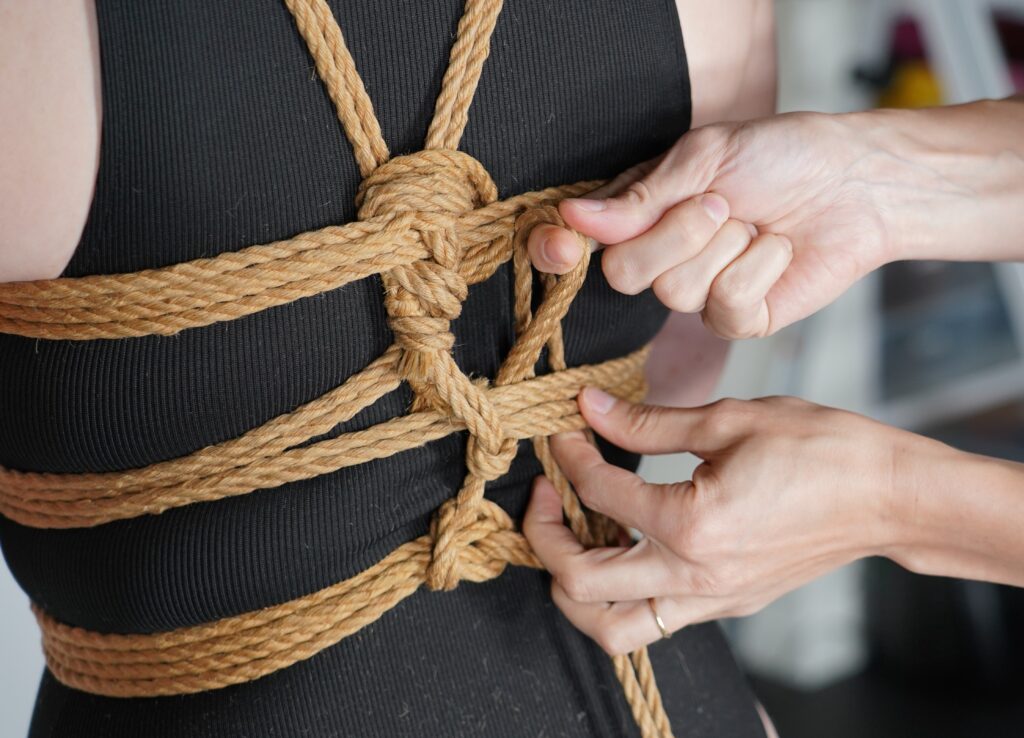
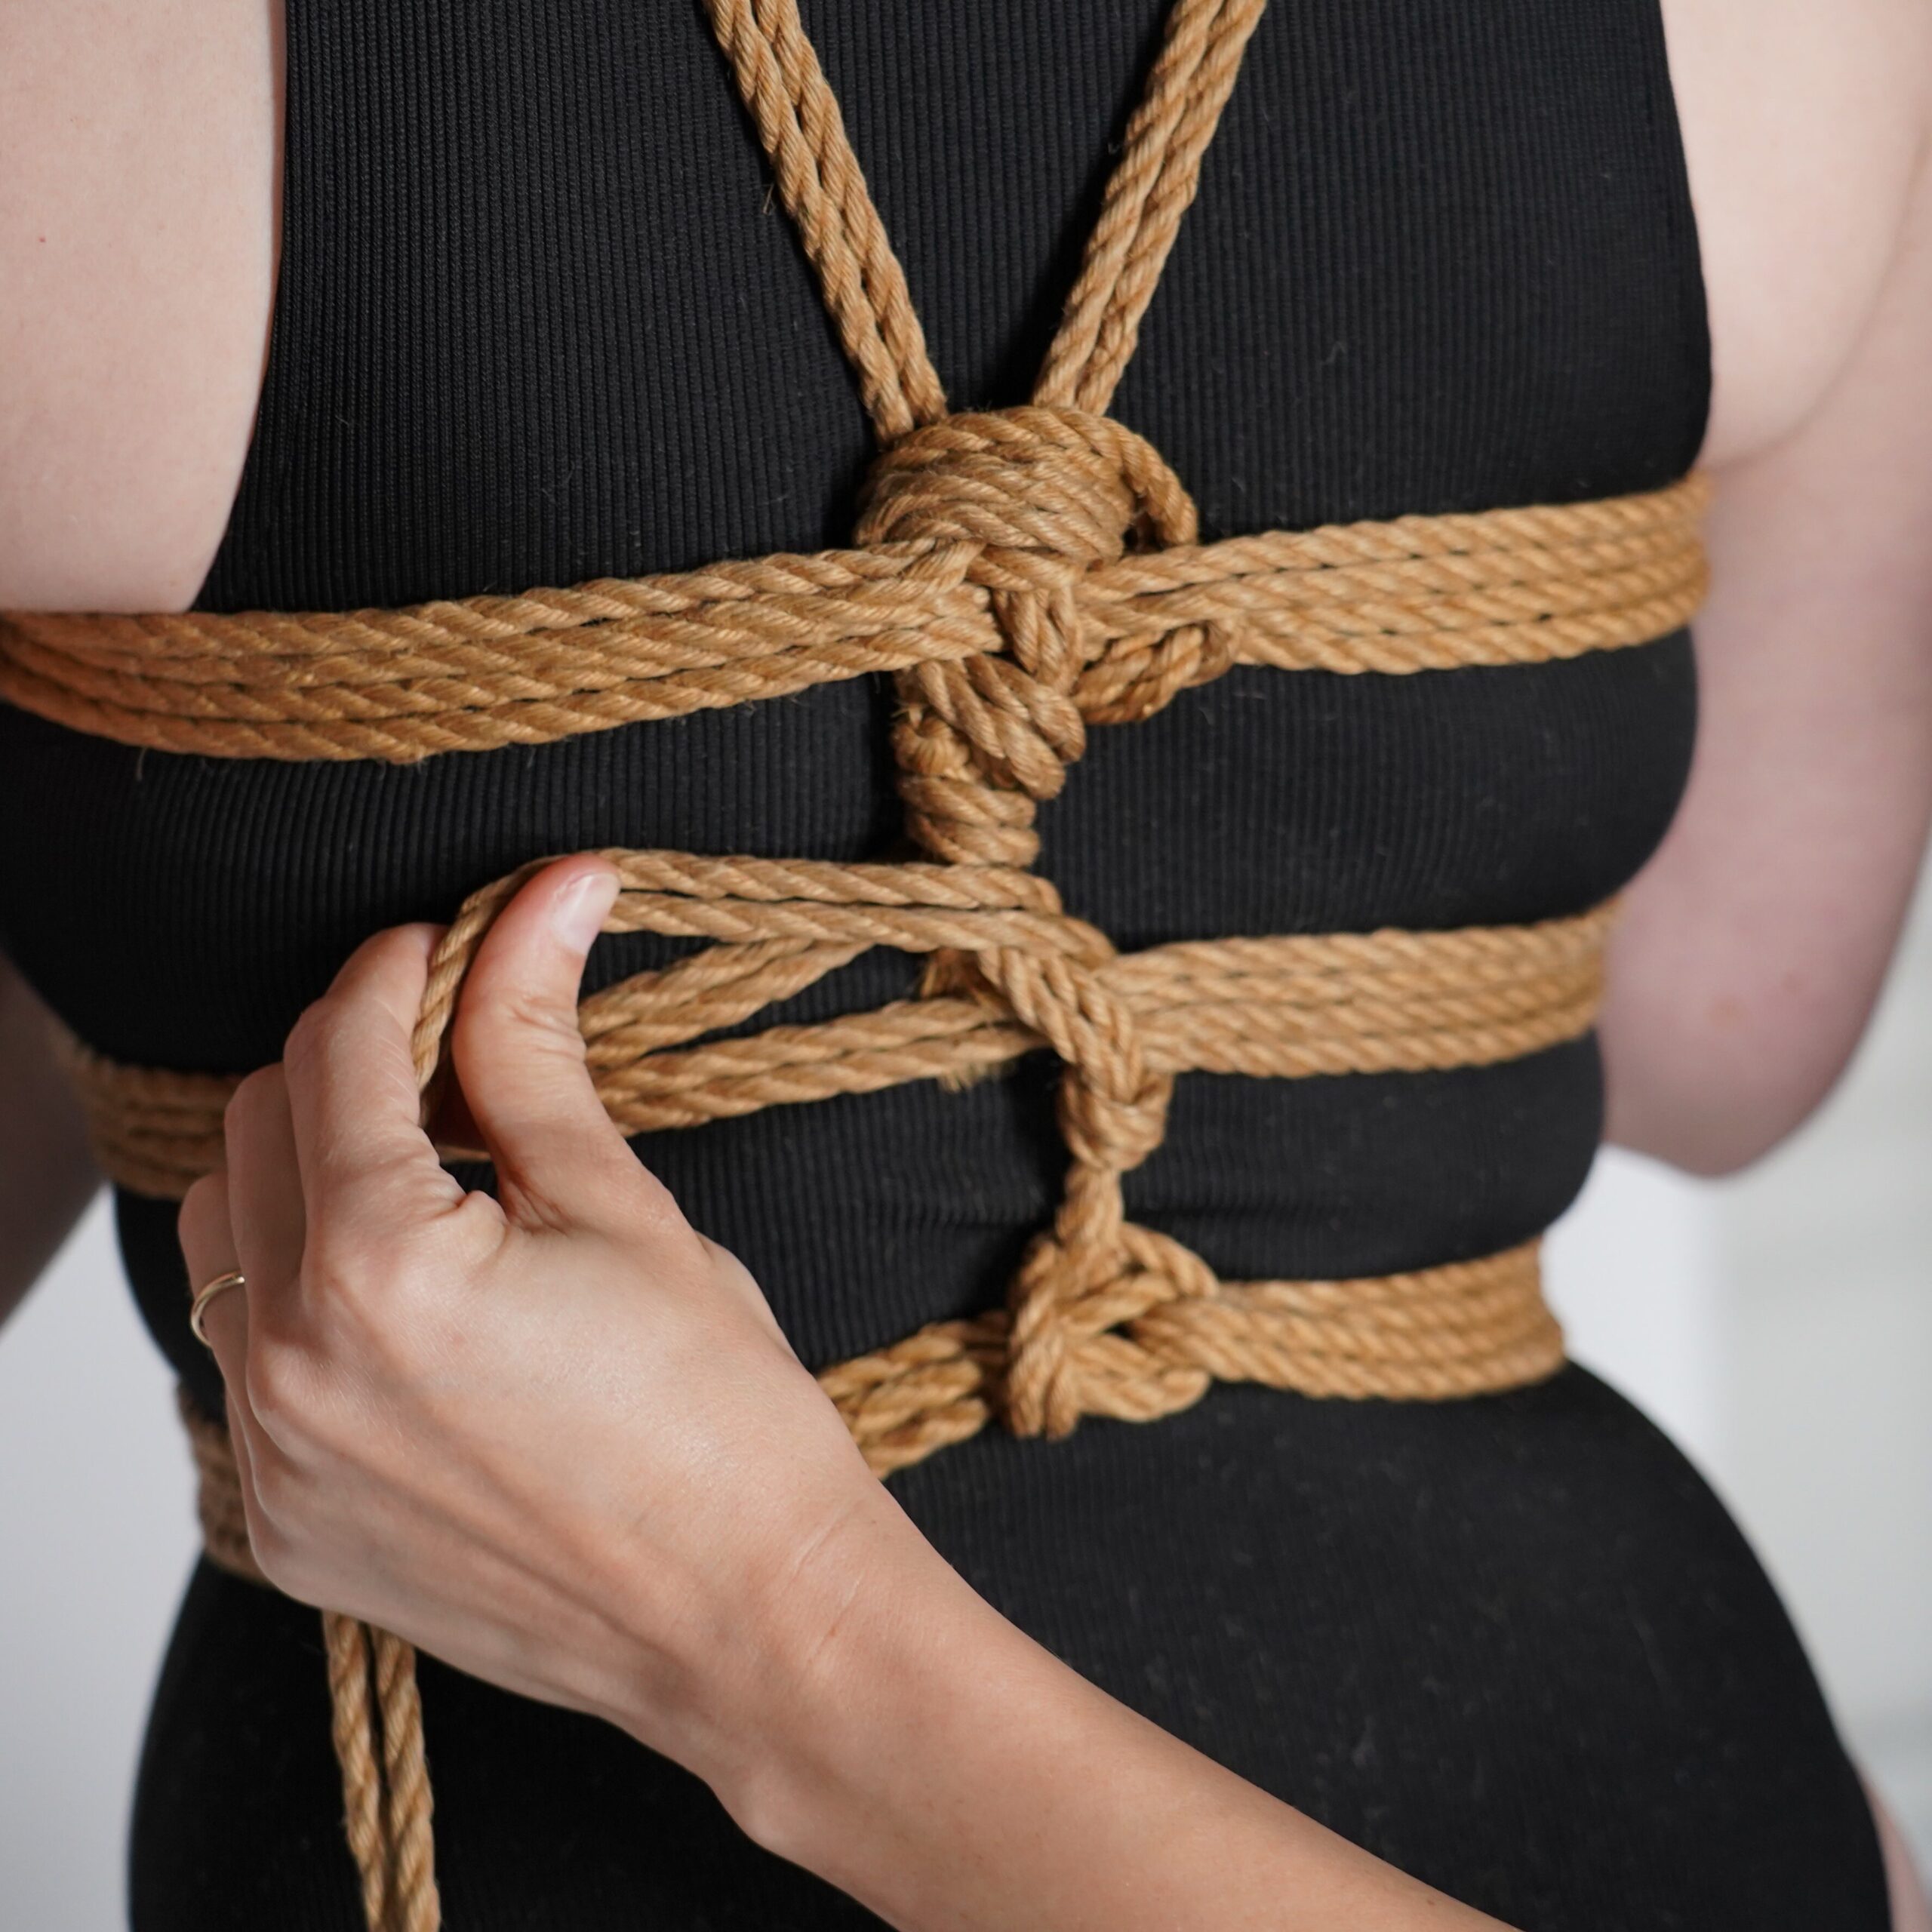
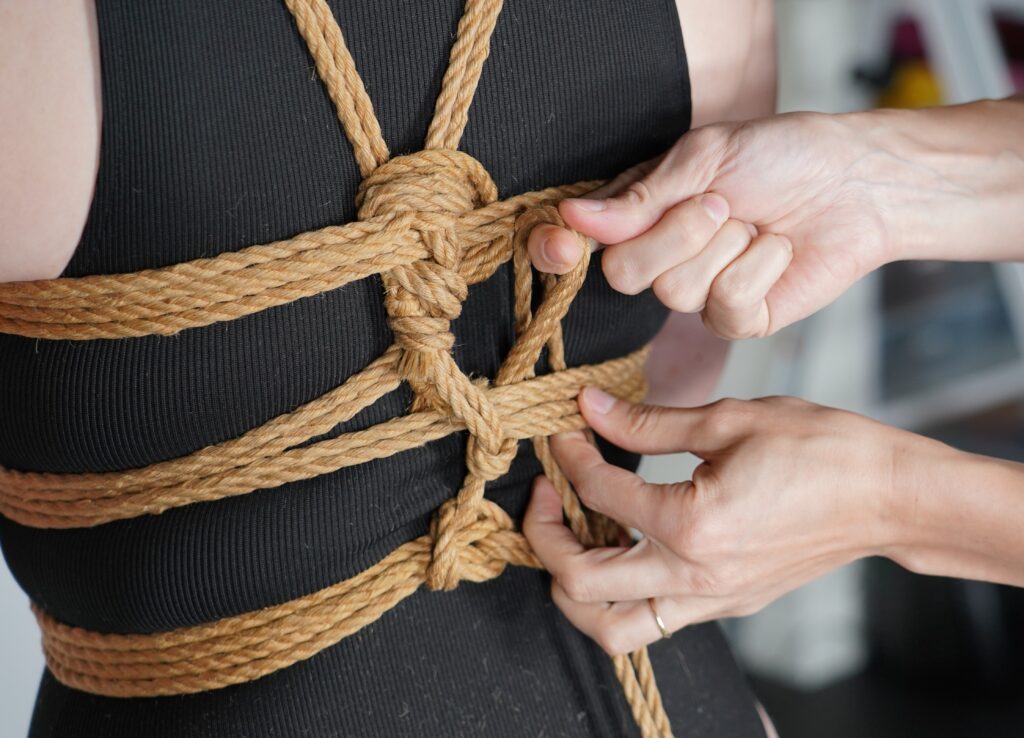
Step 11: Draw the line to the front and through the opening in the front stem between the cow hitch and the middle friction
Step 12: Bring line back and under the stem, repeating the previous step on other side
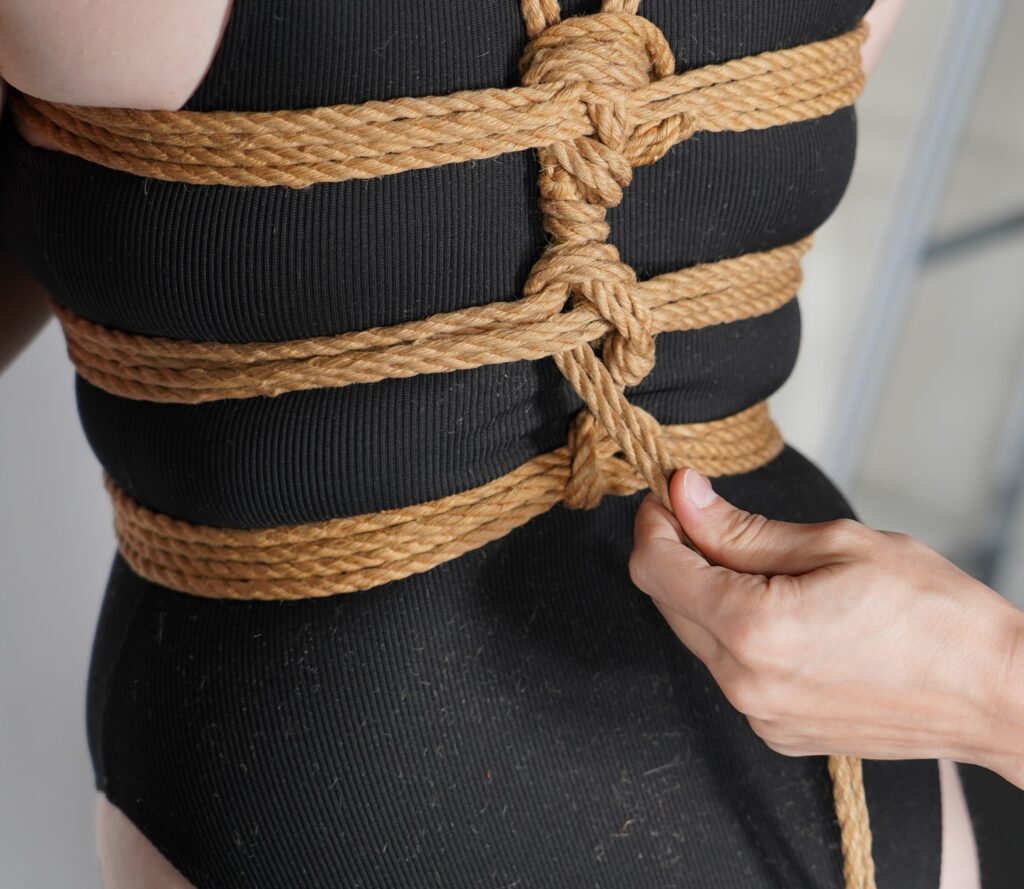
Step 13: Do a full moon friction to lock off lower band
Step 14: Spiral line down to the waist line then back up the stem to top and lock off. This keeps the frictions from sliding and makes the harness
suspension worthy. Additionally, it creates greater stability in the stem.
Step 15 (optional): Weave line to below the top moon friction then bring line under one arm, use to spread the band near the neck off the collarbone for comfort, travel back under the back stem, repeat on other side, then lock off with a moon friction in the back.
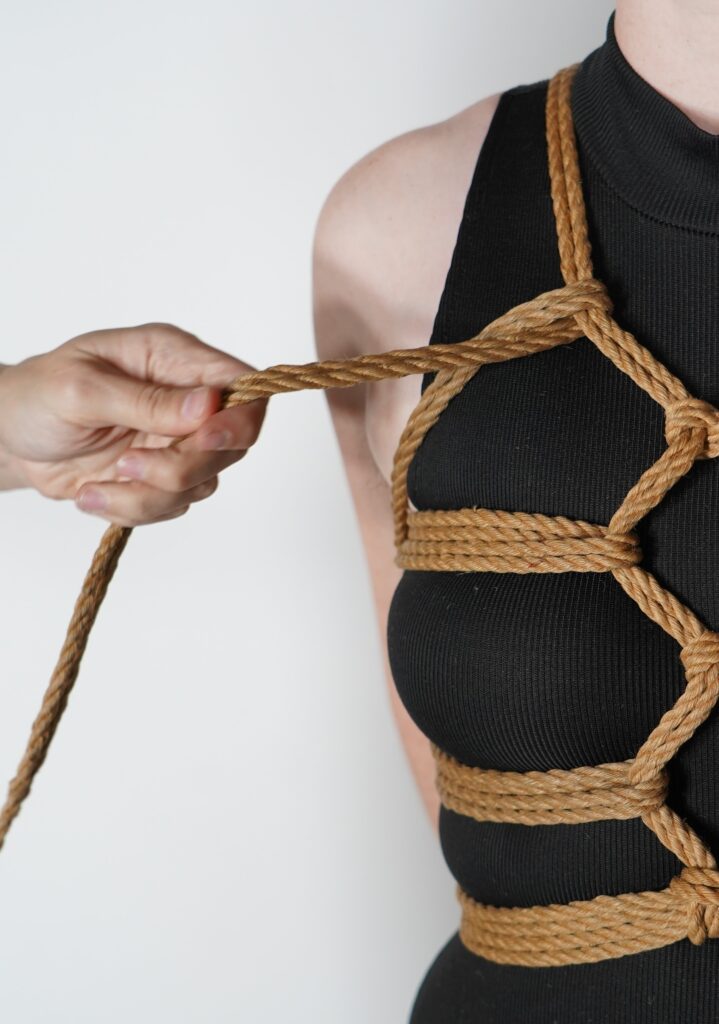
You’re done!
Credits:
model Spontaneity,
Rigging Roxanne,
Photos: Megan
writing and editing by Roxanne and Megan